What You‘ll Need:
- Tape-in hair extensions kit
- Clarifying shampoo (sulfate-free)
- Rat-tail comb
- Hair clips
- Flat iron / Hair straightener
- Loop brush (soft-bristle brush)
Step 1: Begin with Completely Clean & Dry Hair
Before installing tape-in extensions, clean hair is essential for maximum adhesion.
- Use a Deep Cleansing Shampoo to remove any oil, product buildup, or residue.
- 🚫Avoid conditioner, oils, or serums, as these can weaken the adhesive bond.
- ✅Ensure hair is 100% dry before application. Any dampness will prevent the tape from sticking.
💡Pro Tip: A sulfate-free clarifying shampoo works best for both cleansing and preserving hair health.

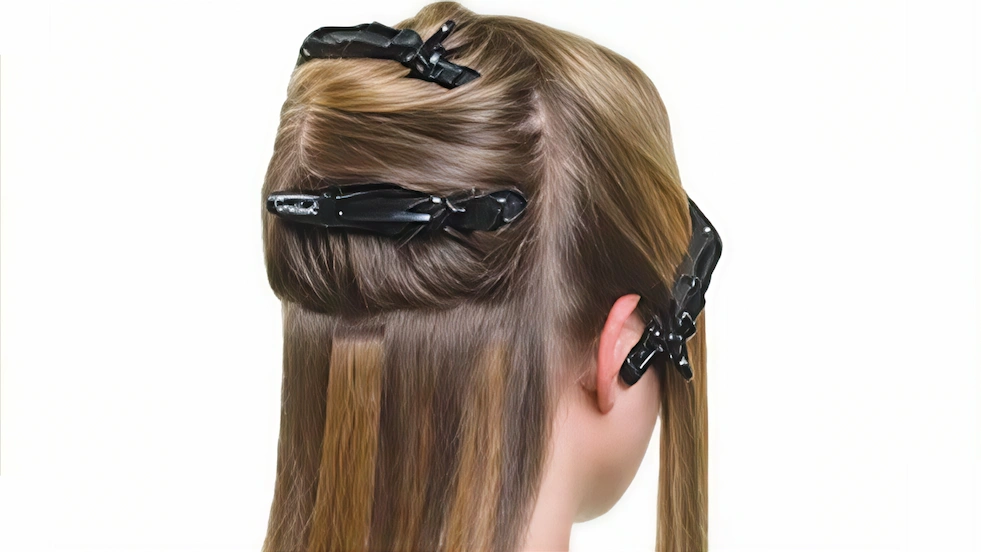
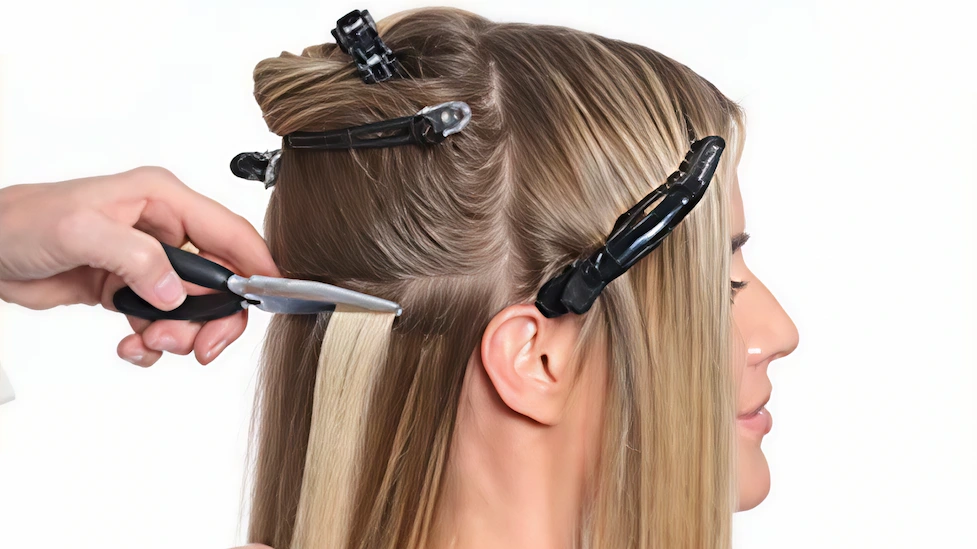
Step 2: Section Your Hair for Precision
Proper sectioning ensures a natural, seamless blend.
- Start by parting your hair horizontally, about 1 inch above the nape of your neck.
- Clip or tie the rest of your hair up to keep it out of the way.
- Avoid placing extensions too close to the hairline—your natural hair should fully cover them.
Pro Tip: Use a rat-tail comb for clean, precise sections.
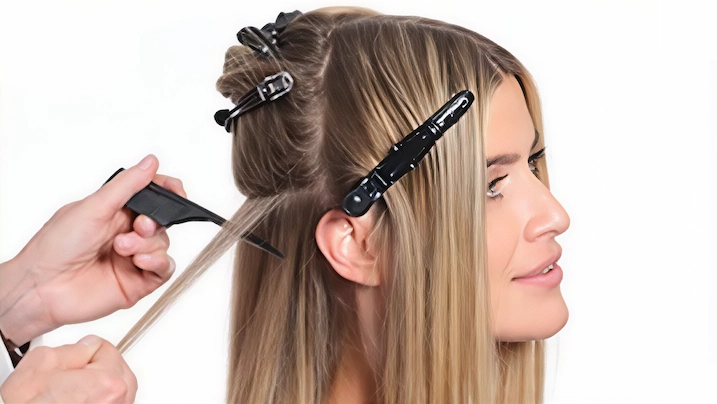
Step 3: Select a Thin Strand of Hair
The thickness of the section is crucial for a secure hold.
- Take a very thin strand (about 1/8 inch or 0.3 cm thick).
- A good way to test: If you can feel your fingers touching through the hair, it’s thin enough.
- Too much hair = weak bond; too little = extensions may slip.
💡Pro Tip: If your hair is fine, you may need even thinner sections for better adhesion.
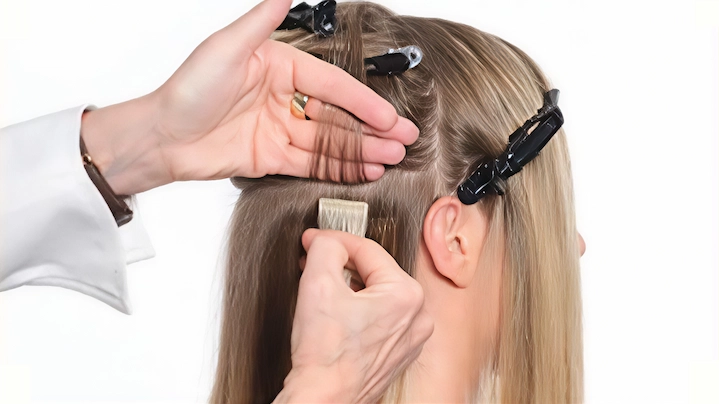
Step 4: Install the Tape-In Extensions
This is the core of how to install tape in hair extensions correctly:
- Peel off the protective backing from the tape.
- Place one weft under the section of hair and another on top, pressing firmly to seal.
- Avoid folding the tape—this can cause bulkiness.
- Use a flat iron or Hair Straightener to clamp the bond for 1–2 seconds (this activates the adhesive).
🛠 Troubleshooting Tip: If the tape doesn’t hold firmly, your hair may be too thick in that section—try taking less hair. If it still fails, rewash and dry your hair to remove invisible oils.roubleshooting:
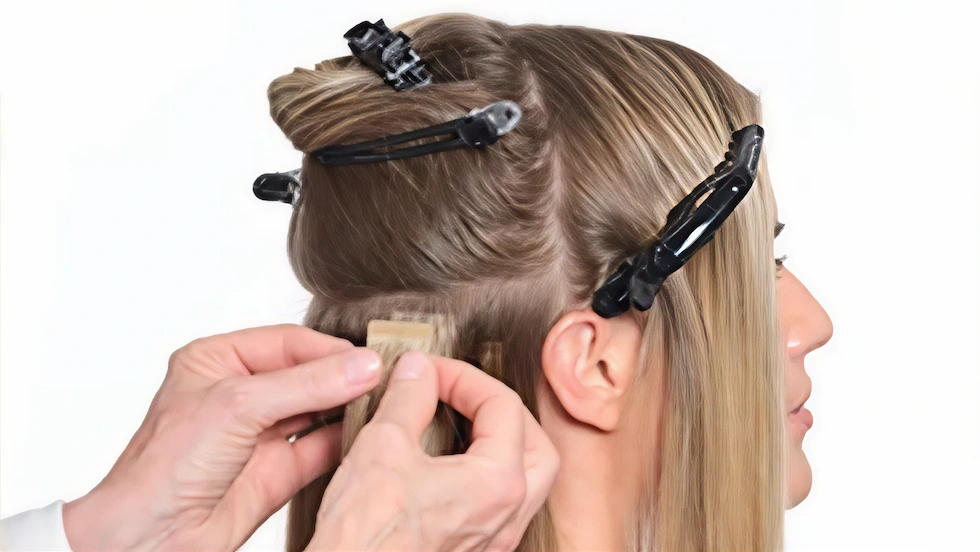
Step 5: Repeat Until Complete
- Work upward in horizontal sections, leaving about ½ inch between each weft for a natural look.
- Stagger the placement (like brickwork) to avoid a bulky, obvious line.
- Once all extensions are in, style as desired—curls, waves, or straightening blend everything together.
Pro Tip: For extra volume, add more wefts near the crown, but avoid overloading to prevent strain on your natural hair.