

Tired of flat, lifeless hair?Want salon-perfect volume in minutes?Afraid of damaging your natural hair?Installing clip-in hair extensions is easier than you think! This step-by-step clip-in extensions tutorial will show you exactly how to put in clip-ins safely and securely for a flawless look every time.
⚠Why Learn Proper Clip-In Extension Installation?
Mastering how to attach clip-in hair extensions correctly helps you:
✓ Avoid visible clips or bulky layers
✓ Prevent tension on your natural hair
✓ Achieve seamless blending
✓ Make extensions last longer
How to Install Clip In Hair Extensions
Step One
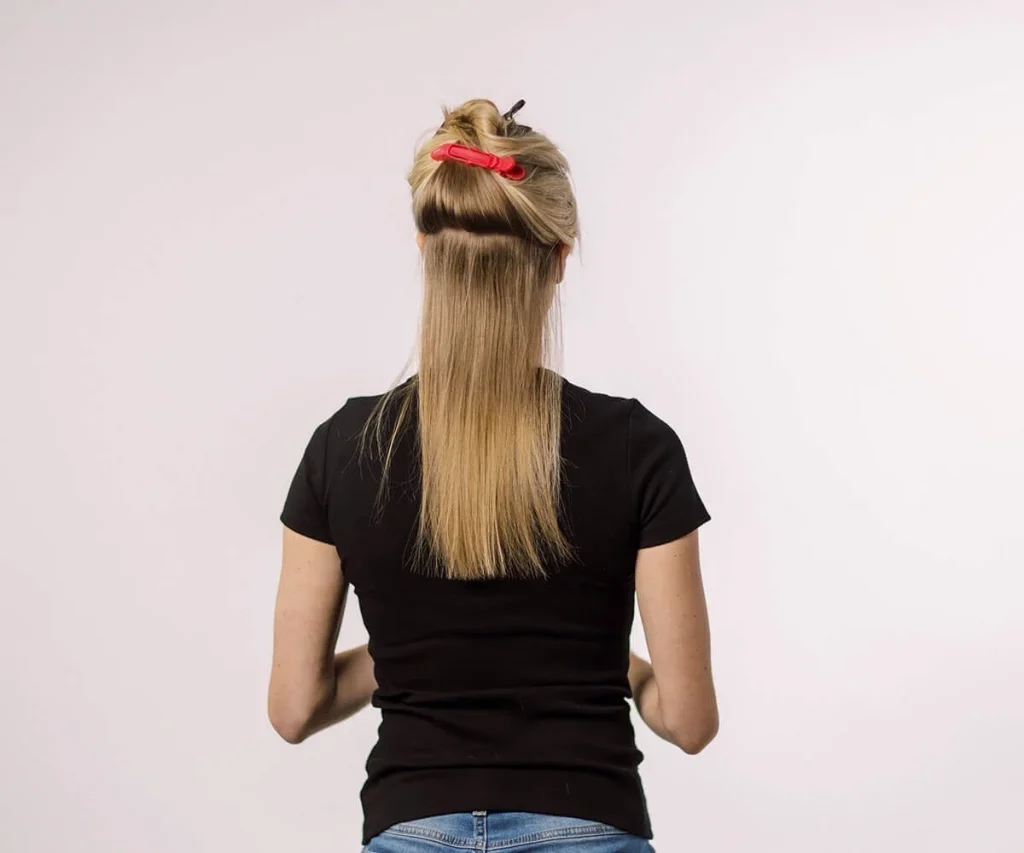
Before installing most types of hair extensions, it’s important to section your hair properly.Use a comb to create a horizontal part where you plan to install the extensions—usually aligned with the bottom of your ears. Clip or tie up the upper section of your hair to keep it out of the way during the installation. Then, gently comb through the lower section to make sure the hair is smooth and tangle-free.
Step Two
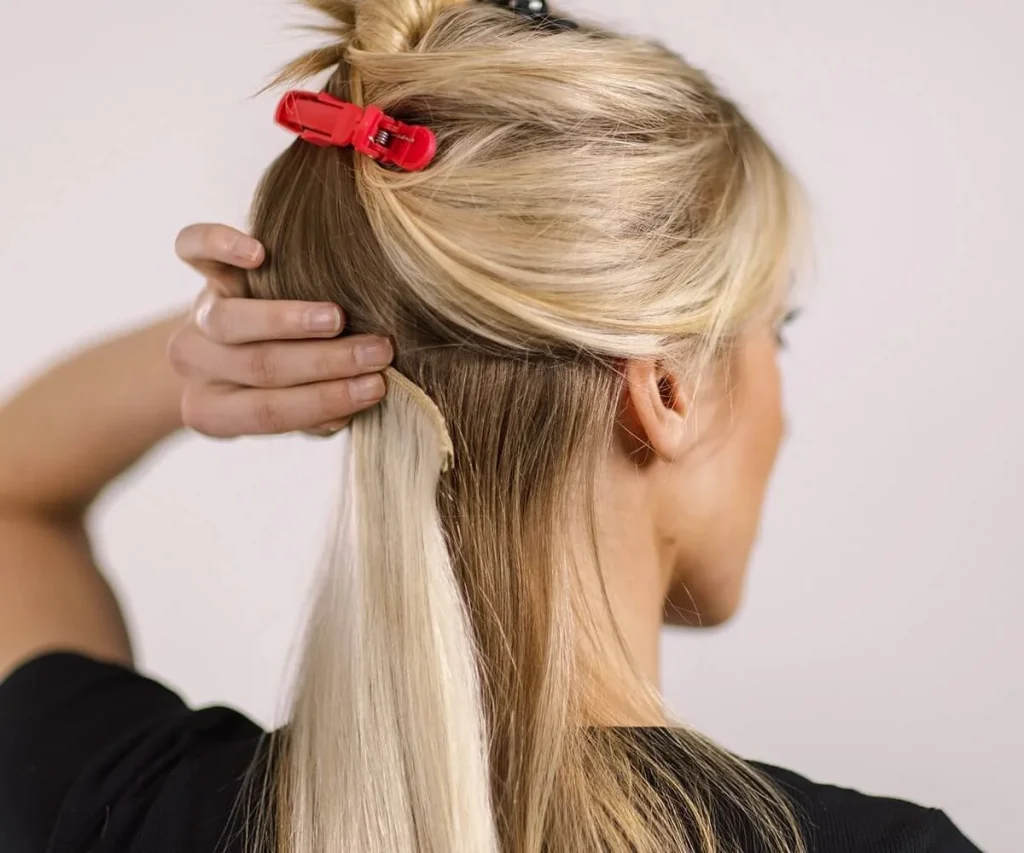
Take the hair extension piece with 3 clips and open all the clips.Place the extension along the sectioned area where you want to install it, then slide the clips into your natural hair. Position the clips about 1 inch (2.5 cm) away from the scalp or hairline. Close the middle clip first to secure the extension in place, then close the clips on each side.
Step Three
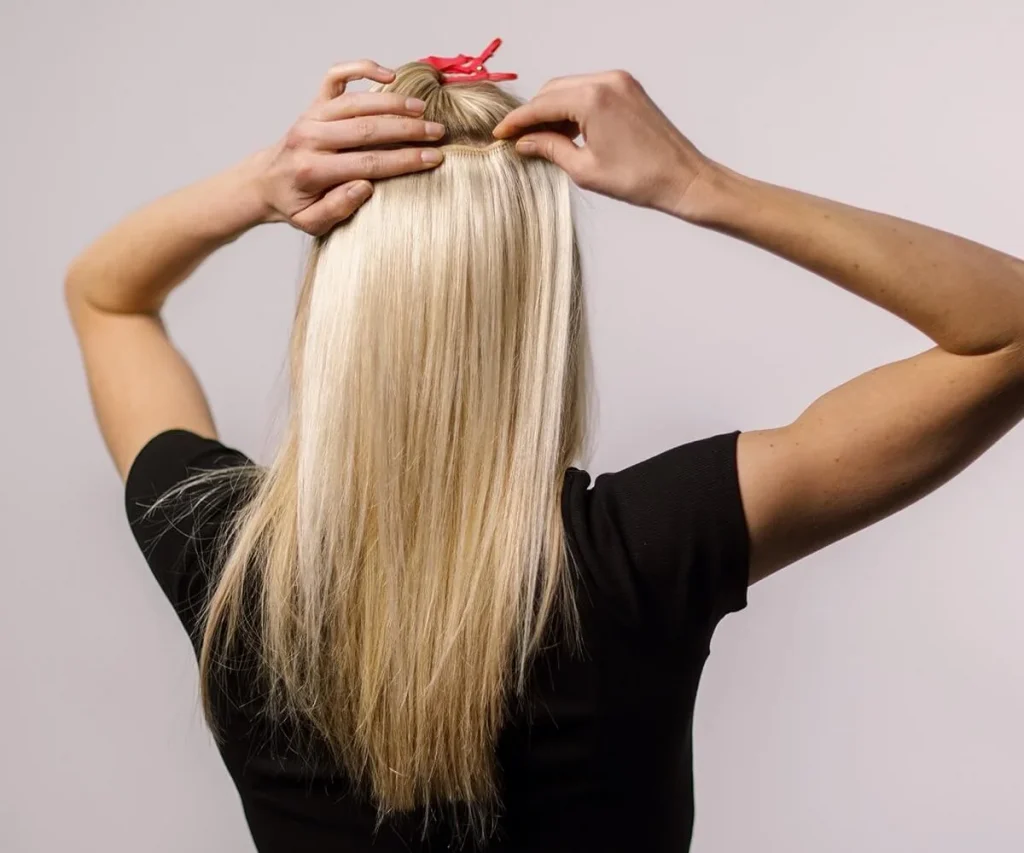
Release a portion of the upper hair and use a comb to create another horizontal part—this time roughly parallel to the middle-upper part of your ears. Following the same method as before, install the extension piece with 4 clips at this level. Start by snapping the two middle clips closed, then secure the ones on each side.

Step Four
Undo the hair, and from the back of the crown, measure about 2 inches (5.1 cm) downward. Use a comb to make a horizontal part, then tie or clip the rest of the hair up again. Insert the final 3-clip extension into your natural hair, snap it closed, and release your hair over it. Check the weft afterward to ensure it’s not visible, especially if you have a cowlick.

Step Five
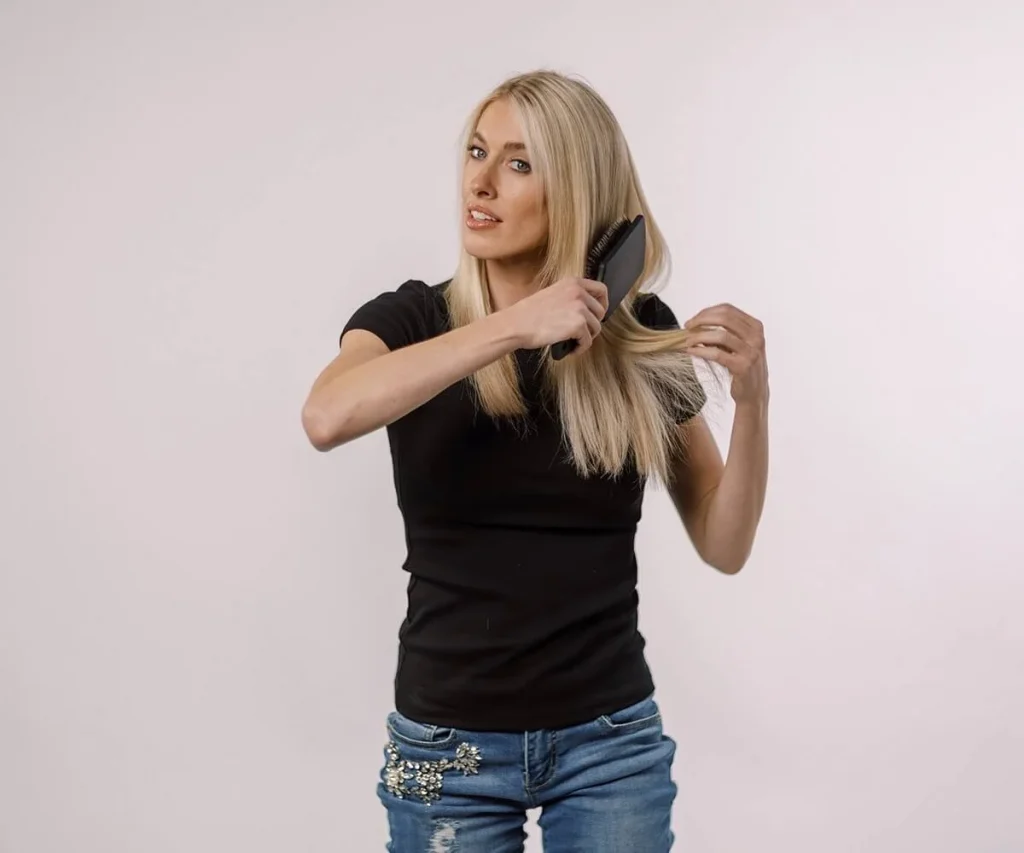
Use a comb to create a horizontal part about 2 inches (5.1 cm) above your ears. Brush the hair to the opposite side and clip it away. Insert a 2-clip extension about 1 inch (2.5 cm) away from your hairline at this section. Repeat the same step on the other side of your head.
Step Six
The last 1-clip extension can be placed wherever you need extra volume. Most people prefer to install it above the 2-clip sections. However, if a certain area has very little hair—such as the thinner side of a side-parted hairstyle—it’s best to avoid placing clips there to prevent them from showing through.
Related Articles Guides:
💨How to Remove Clip-in Hair Extensions
💦How to Care for Clip-in Hair Extensions
With the right technique and quality extensions like Ugeat’s, achieving salon-worthy hair at home has never been easier! Clip-in Hair extensions offer a quick, damage-free way to transform your look—whether you crave extra length, volume, or a bold style change. Follow these simple steps, experiment with confidence, and don’t forget to care for your extensions to keep them looking flawless. Ready to embrace your new glamorous look? Start clipping and shine!