
If you’re looking to instantly transform your hair with added length and thickness, Microlink Hair Extensions are the perfect solution. For beginners seeking an easy-to-use, budget-friendly option, UGEAT’s Microlink Hair Extensions deliver flawless results with minimal effort.
Why Choose Ugeat Microlink Hair Extensions?
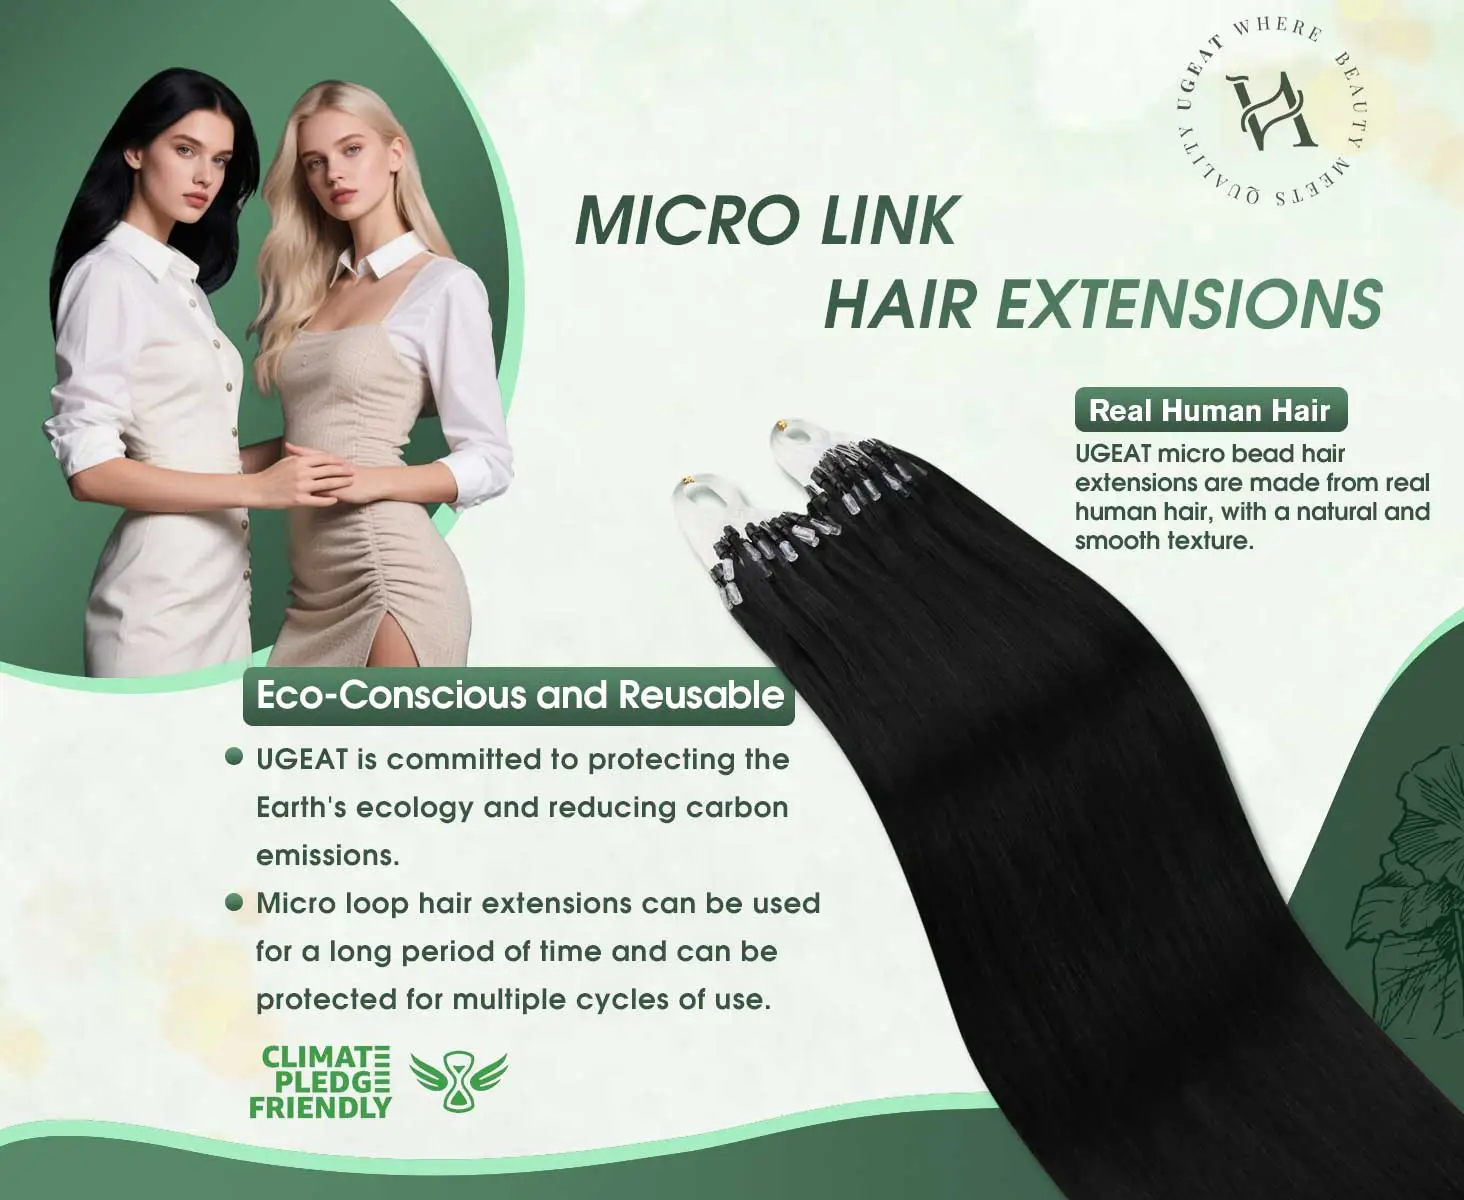
Eco-Conscious Human Hair Construction
Ugeat microlink hair extensions are crafted from Remy human hair with intact cuticles, delivering natural shine and tangle-free softness;Our micro bead extensions seamlessly blend with natural hair while reducing environmental impact;Each strand is ethically and sustainably sourced to support low-carbon beauty practices, as we advance toward global carbon neutrality
Cold Fusion and Non-Damage
Ugeat micro link hair extensions adopts a cold fusion connection method, with a small connecting ring, making it comfortable and natural to wear;Ugeat micro loop do not use glue or heating, reducing damage to the scalp and natural hair
Long-Lasting and Reusable
The use cycle of Ugeat micro link hair extensions can reach 6-10 weeks after installation;If the micro beads hair extensions is well protected, it can be reused multiple time
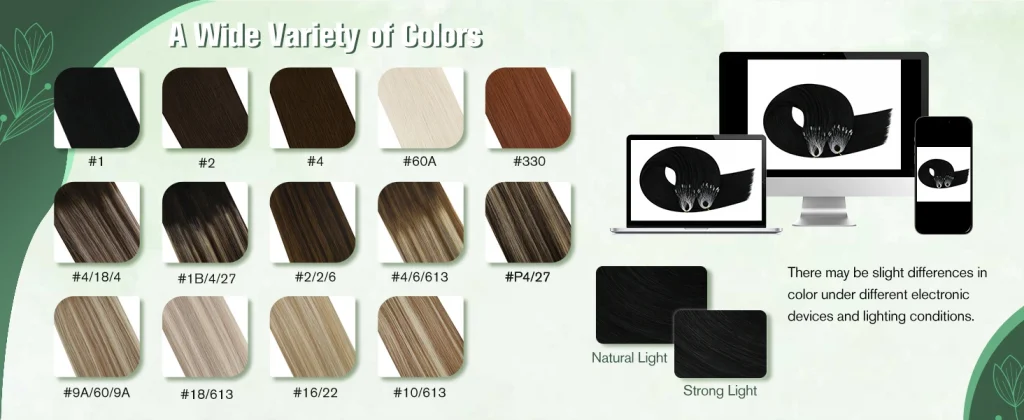
Endless Styling Possibilities
✨ 10+ Natural Shades – From classic blacks to trendy balayage, our Microlink Hair Extensions blend flawlessly with any hair color—perfect for everyday wear or high-fashion looks.
Can’t Find Your Perfect Match? We’ve Got You Covered!
If our 10+ shades don’t include your ideal color, we offer two solutions:
1️⃣ DIY Dyeing Option
You can color-match the extensions yourself!
⚠️ Important: Please read our How to Dye Hair Extensions Guide first to ensure best results and avoid damage.
2️⃣ Custom Color Service
Send us a photo of your natural hair (in daylight, no filters/editing) and we’ll:
- Provide a custom color quote
- Create extensions that blend flawlessly
✨ Customizable Volume & Length
- 1-2 packs → Adds noticeable length
- 3-4 packs → Boosts thickness for a fuller look
- Pro Tip: For curly styles, opt for longer extensions to match your desired bounce.
How to install microlink extensions
1. Section Your Hair
- Divide hair into upper and lower layers (from ear tips to crown)
- Secure the top layer with clips
- Start working on the bottom layer
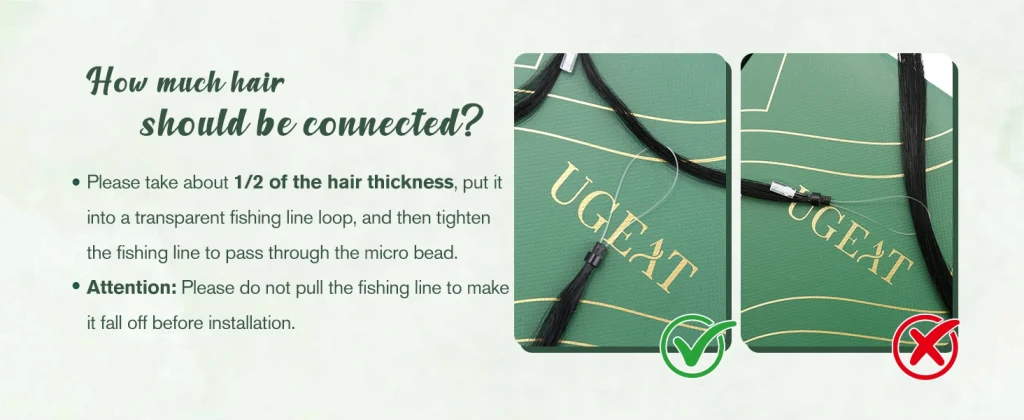
2. Isolate Hair Strands
Use the comb to select a 1cm wide, 3-5mm thick section
Pro Tip: The amount should perfectly match the micro-ring’s inner diameter (too much = loose, too little = slippage)
3.Thread the Micro-Ring
- Pass the hair strand through the silicone-lined ring
- Use the threading tool (or transparent fishing line for DIY)
4.Positioning & Securing
🔺 Key Technique:
Place the ring at least 5mm from scalp (prevents follicle stress)
Squeeze vertically with pliers 3 times (listen for the “click” sound)
5.Repeat Installation
Space each ring 1.5-2cm apart
6.Final Check
Gently tug each extension to test security
Trim ends to blend with natural hair
Professional Tips
✨ For Beginners:
- Practice first on the nape area
- Ask a friend to help with back sections
- Avoid washing for 48 hours post-install
💡 Advanced Tricks:
- For extra volume, install 2-3 staggered layers
- Always use heat protectant before styling