
Have you ever faced this frustration? Your beautiful, expensive hair extensions start to knot, frizz, and shed much sooner than you expected. Before you blame the quality, the issue might be your brushing technique! Brushing extensions might seem simple, but using the wrong method or tools can quickly ruin your investment.
As a seasoned hair extension enthusiast and care expert, I’m here to reveal how to brush all types of extensions—tangle-free and without damage. This ultimate guide covers everything from temporary clip-ins to long-lasting tape-ins and micro links, helping you maintain smooth, glossy extensions and protect your beautiful investment.
Part 1: The Golden Rules of How to Brush Hair Extensions
Before you even touch your hair, having the right tools is half the battle. Here are the universal rules you must follow.
1. Invest in the Right Tools: This is Non-Negotiable
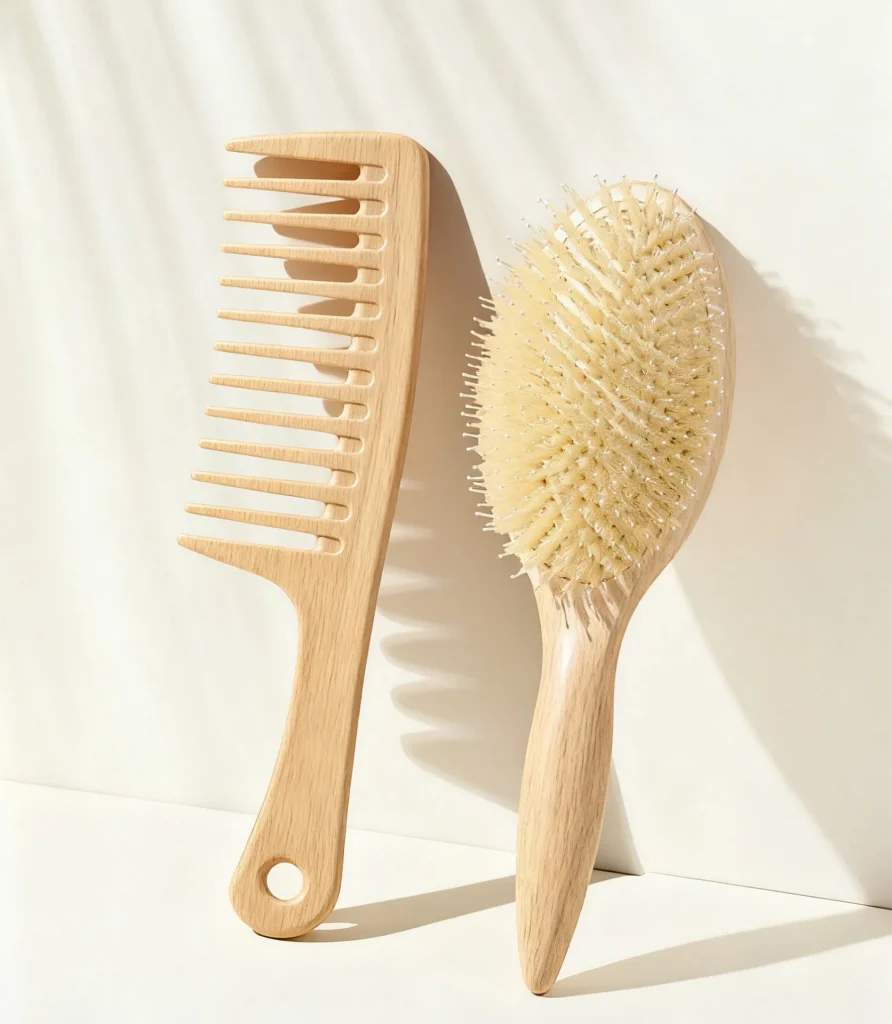
- Wide-Tooth Comb: For initial detangling on wet hair or severe knots.
- Professional Extension Brush: This is essential! Often called a “loop brush,” it has soft, rounded bristles designed to glide over wefts and bonds without snagging or pulling, unlike regular brushes. (We recommend the Tangle Teezer or a similar trusted brand’s extension-specific brush).
2. The “Start from the Ends” Iron Rule
Never brush from the roots down! This tightens knots and puts stress on the attachment points and your natural hair.
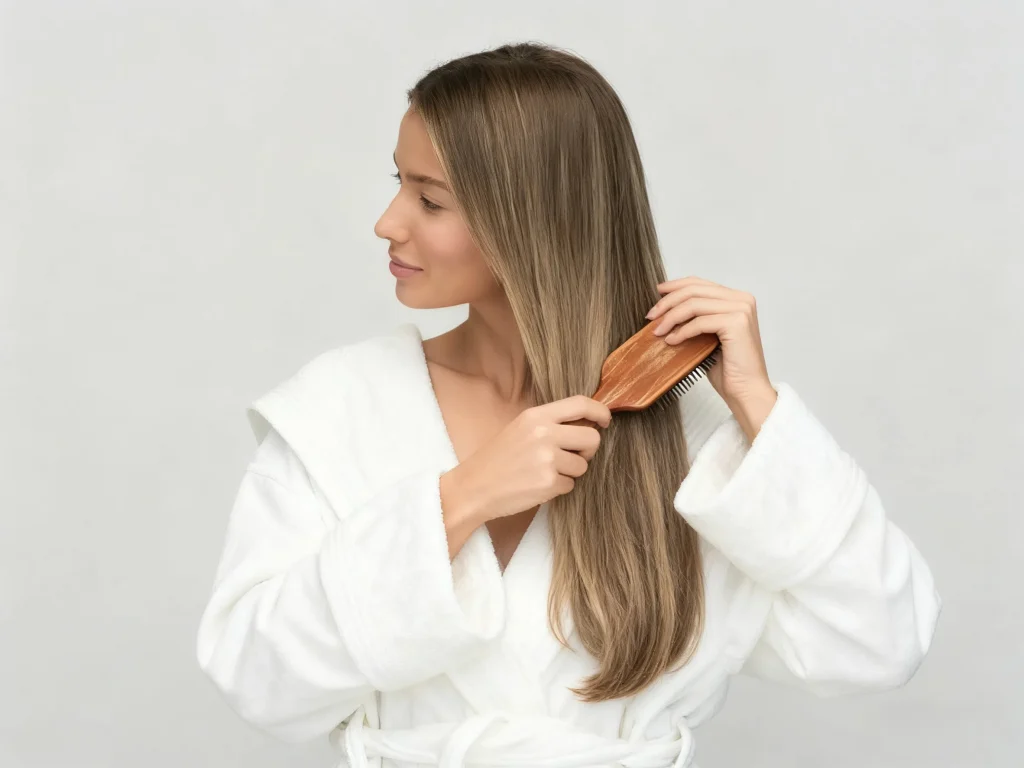
- The Right Technique: Hold the hair securely at the mid-lengths. Gently brush out the very ends first. Once the ends are smooth, move up a few inches and brush again, working your way gradually toward the roots.
3. Gentleness and Patience are Key
Treat your extensions like expensive silk. If you hit a stubborn knot, don’t yank it. Use your fingers to gently work it apart or apply a detangling spray for slip.
4. Prioritize Moisture
Dry hair tangles more easily. Use sulfate-free, moisturizing shampoos and conditioners. A leave-in conditioner or detangling spray before brushing can be a game-changer.
Part 2: How to Brush Temporary Hair Extensions
Temporary extensions (like Clip-Ins, Halo) require specific care during wear and storage.
While Being Worn:
- First, brush your natural hair thoroughly to create a smooth base.
- After clipping in the extensions, blend all the hair together.
- Using your extension brush or wide-tooth comb, start from the ends and work upward. Be extra cautious around the clips to avoid pulling.
- Styling Warning: When using heat tools (like blow dryers, straighteners, or curling wands), avoid applying direct heat onto the clips, as this can damage them.
After Removal and Before Storage:
- Always brush before storing! Lay them flat on a table, hold the weft securely, and gently brush from the mid-lengths down to the ends.
- Storage is Key: Store them rolled up or laid flat in a silk or satin pouch. This minimizes friction and prevents overnight tangling.
How to Brush Permanent Hair Extensions
Permanent extensions (like Tape-Ins, Micro Links) require more detailed daily care, focusing on protecting the bonds and your natural hair.
Daily Brushing Technique:
- Section Your Hair: This is crucial! Work on one small section at a time. Clip the top layers out of the way.
- Support the Bonds: This is the most important step! Hold the hair securely just above the bond (tape or bead) to minimize tension on the attachment point.
- Brush Downward: Gently brush from the mid-lengths to the ends first. Then, while still supporting the roots, you can gently brush from the top down.
- Pre-Bed Brushing: Always give your hair a thorough, gentle brush before bed. For best results, loosely braid your hair or wear a silk/satin bonnet to prevent friction and matting.
⚠️ The 3 Most Common Brushing Mistakes (And How to Avoid Them)
- Brushing Dry Knots: Tugging aggressively at dry tangles causes massive breakage and shedding.
- Ignoring Root Support: Brushing straight down from the roots loosens bonds and pulls out your natural hair.
- Using the Wrong Tool on Wet Hair: Brushing sopping wet, fragile extensions with a fine-tooth comb causes severe damage.
Special Washing Care Tips:
- Before Washing: In the shower, gently detangle with your fingers or a wide-tooth comb while the conditioner is in your hair. The slip makes it easy.
- After Washing: Never brush harshly when sopping wet! Pat dry with a towel, apply a leave-in conditioner, and use a wide-tooth comb to carefully detangle from the ends up before blow-drying.
For Severe Tangles:
Saturate the knot with a detangling spray or conditioner. Use your fingers or the tip of a rat-tail comb to patiently pick the knot apart, starting from the very bottom.
Summary: Your Quick Guide on How to Brush Hair Extensions
| Combing Focus | Temporary Extensions | Permanent Extensions |
| Core Tools | Wide-tooth comb, regular hairbrush | Wide-tooth comb, Loop Brush (Essential!) |
| Key Priority | Blending the transition, avoiding heat on bonds | Reducing tension on bonds, Sectioning & Layered Combing |
| Main Challenge | Overall blending after application | Hidden tangles underneath the bonds |
| Night Care | Removal and storage after use | Braiding or wearing a silk cap to sleep |
| Maintenance Core | Care after removal | Daily diligence and patience |
Learning how to brush your extensions correctly is the simplest, most effective way to protect your beautiful investment. With the right tools, proper technique, and a little patience, you can keep both your extensions and your natural hair looking flawless and healthy.
Start today! What’s your favorite hair extension care product? Is it a miracle detangling spray or a trusty extension brush? Share your top tips in the comments below!