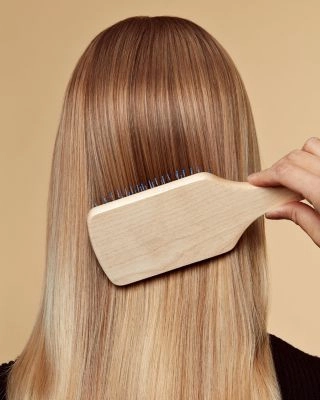
Tired of the tugging and tangling when you take out your clip-in hair extensions? You’re not alone. Many people cause unnecessary damage to their hair and extensions simply by not knowing the right removal process. Follow this guide to learn the pain-free way to remove your clip-ins every time
Step 1: Preparation
Before you start unclipping, proper preparation is key to avoiding unnecessary pulling and damage. Gather the following supplies to make the process smooth and safe:
- Wide-tooth comb or detangling brush – Essential for gently working through knots without snagging.
- Hair clips or ties – Useful for sectioning hair if you have multiple wefts or thick layers.
- Leave-in conditioner or hair oil – Helps reduce friction, making it easier to slide out clips without tugging.
- A clean, flat surface – To place extensions as you remove them, preventing tangling.
Pro Tip: If your extensions have been in for a long time or feel stiff, lightly spritz them with a detangling spray before removal to soften the hair and ease the process.
Step 2: The Step-by-Step Removal Process
① Begin at the Roots
- Start from the bottom row – Always release the lowest clips first to avoid tangling the upper layers.
- Locate the bottom weft – Gently feel along the weft to identify the clips.
- Release the clasp – Press the small lever (clasp) to open the clip—never pull or yank the hair.
- For stubborn clips – Apply a drop of hair oil near the clip to loosen it, then try again.
Why this matters: Yanking extensions can pull out your natural hair or weaken the clips over time.
② Layer-by-Layer Removal
This systematic approach is the key to safely removing clip-in extensions without stress.
- Work upward systematically – After releasing the bottom layer, progress upward row by row to maintain order.
- Section as needed – Clip up your natural hair to clearly expose each extension weft for easy access.
- Release carefully – Unfasten each clip slowly, checking that no hair is trapped in the mechanism.
- Address tangles immediately – If extensions intertwine with natural hair, gently separate them with your fingers or a wide-tooth comb before complete removal.
Common Mistake: Removing extensions from the top first can cause the lower clips to pull and tangle, leading to breakage.
③ Detangle & Store Correctly
Knowing how to remove clip-in hair extensions isn’t just about unclipping; what you do afterwards is vital for their longevity.
After removal, proper care ensures your extensions stay soft and tangle-free for future use.
- Detangle gently: Use a wide-tooth comb, starting from the ends and working upward to avoid stretching or breaking the hair.
- Hydrate the strands: Spritz with a leave-in conditioner or apply a small amount of lightweight hair oil to keep them smooth.
- Store properly: Lay extensions flat in a silk pouch or roll them loosely to prevent creasing and clip damage. Avoid tossing them into a drawer where they can get tangled.
Step 3: Maintenance Tips for Longevity
To keep your clip-inhair extensions looking fresh and your natural hair healthy, follow these best practices:

✔ Never sleep with clip-in hair extneisons – The friction from pillows can cause matting, and pressure weakens the clips.
✔ Limit heat styling – Excessive blow-drying, curling, or straightening can dry out the fibers. If you must use heat, apply a heat protectant first.
✔ Wash every 5-7 wears – Use a sulfate-free shampoo and lukewarm water. Gently squeeze out moisture (never wring) and air-dry on a towel.
✔ Rotate your extensions – If you have multiple sets, alternate them to reduce wear and tear.
Removing clip-in extensions the right way is just as important as how you wear them. By following these steps—gentle unclipping, proper detangling, and careful storage—you’ll prevent damage to both your natural hair and your extensions. With consistent care, your clip-in hair extensions will remain silky, tangle-free, and ready for your next glam look!
Extra Tip: Schedule a deep-conditioning treatment for your natural hair once a week to keep it strong and hydrated, especially if you wear extensions frequently.
Frequently Asked Questions (FAQ)
By mastering how to safely remove clip-in hair extensions using this gentle step-by-step method, you’ll prevent damage and ensure your extensions remain beautiful for many more wears.
