
Achieving the perfect hair color is a dream for many, and hair extensions can help you get that look instantly. However, store-bought extensions may not always match your desired shade, or you might want to experiment with a new color without altering your natural hair. Learning how to dye hair extensions at home can be a great solution.
But be careful—improper dyeing can cause dryness, uneven color, or even permanent damage. This guide will walk you through the safest way to dye hair extensions while keeping them soft and shiny.
Preparation: What You Need Before You Dye Hair Extensions
1.Check the Hair Type
- Remy Hair (Human Hair)/Virgin Hair: Can be dyed, but check if it has been chemically treated (e.g., silicone coating or pre-colored).
- Synthetic Hair: Cannot be dyed—chemical dyes or heat will damage the fibers.
✅ Test Method: Snip a small strand and apply dye to see if it takes color.
2.Choose the Right Hair Dye for Extensions
⚠️ Avoid box dyes—opt for professional salon brands
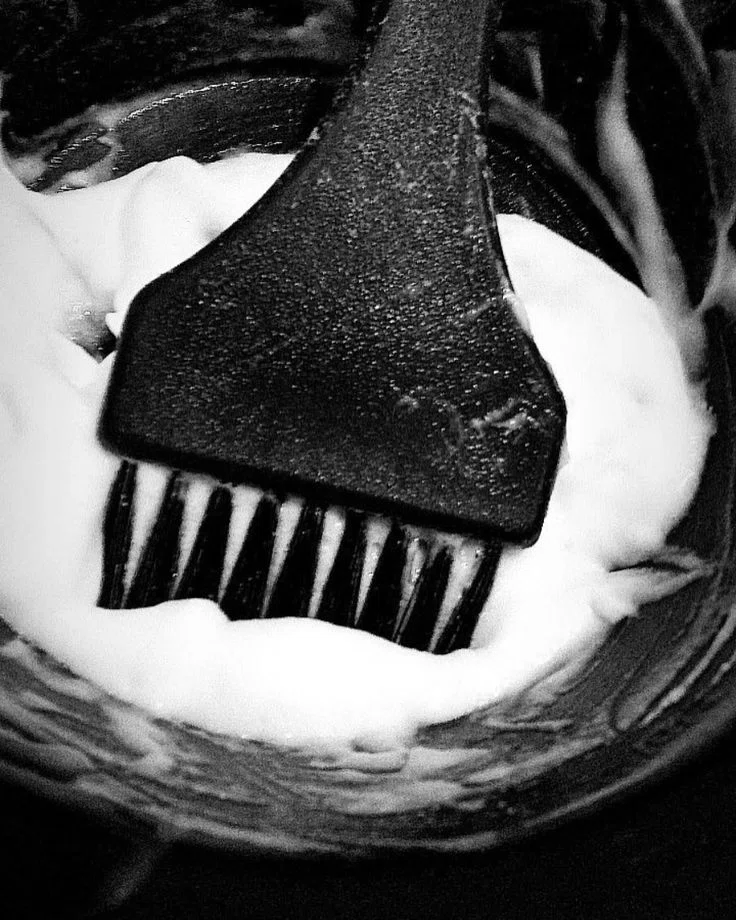
3.Gather Your Tools
- Hair dye brush & mixing bowl
- Gloves (to avoid staining hands)
- Aluminum foil or plastic wrap (to lock in color)
- Conditioner or hair mask (for post-dye care)
- Old towel (to protect surfaces)
How to Dye Hair Extensions Perfectly
1.Wash the Hair Extensions
- Clean with a sulfate-free shampoo to remove any product buildup.
- Do not use conditioner, as it can block dye absorption.
- Air-dry or blow-dry completely—wet hair dilutes the dye.
2.Mix the Hair Dye
Follow the instructions to prepare the dye (if using developer, opt for 10-20vol to minimize damage).
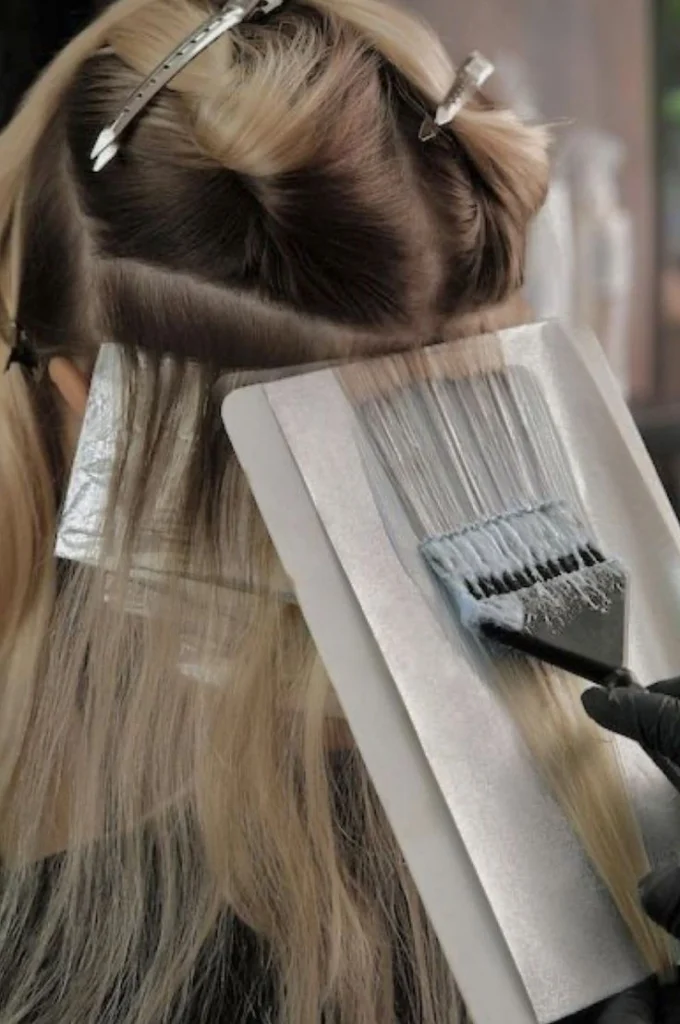
3.Apply the Dye in Sections
- Lay the extensions flat on a table or hang them on a hook, then divide into small sections (1-2cm wide).
- Apply from the ends toward the roots to avoid darker roots.
- Ensure every strand is evenly coated.
4.Wrap & Process
- Cover with foil or plastic wrap to prevent drying.
- Processing Time:
- Semi-permanent dye: 15-30 minutes
- Permanent dye: 30-45 minutes
- Check the color every 5 minutes to avoid over-processing.
5.Rinse & Condition
Post-Dye Care Tips
✅ Use sulfate-free shampoo to prevent color fading.
✅ Apply a hair mask 1-2 times a week to maintain softness.
✅ Minimize heat styling to avoid brassiness.
❌ Avoid frequent recoloring—wait at least 6-8 weeks between sessions.
Frequently Asked Questions
Learning how to dye hair extensions is totally doable with the right products and techniques. Human hair extensions take color well, but synthetic ones can’t be dyed. Always test a small section first, and if unsure, consult a stylist.
If you’re unsure, test the dye on a small section first or consult a professional stylist. Hope this guide helps you achieve your dream hair color! 💇♀️🎨
Have you tried dyeing hair extensions at home? Share your experience in the comments! 💇♀️🎨